Why This Banana Pudding Ice Cream Will Be Your New Summer Favorite
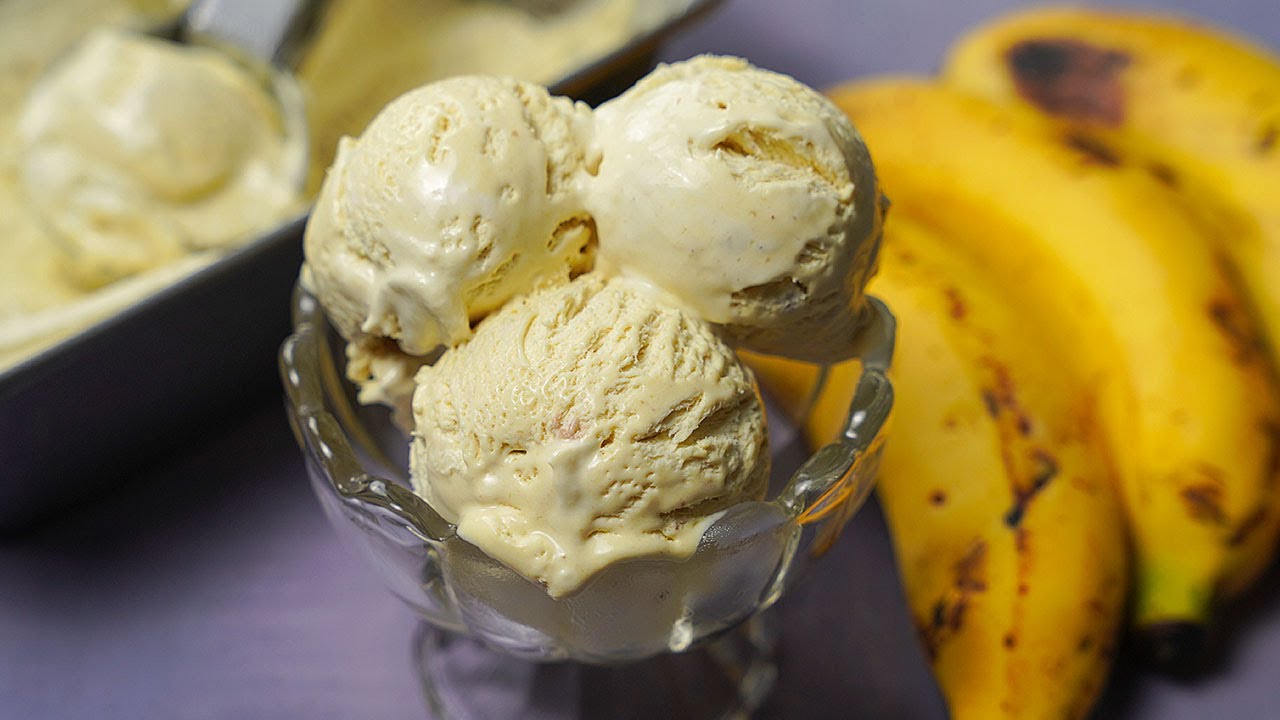
Imagine savoring the creamy delight of banana pudding, but in the form of ice cream—a dessert that combines the best of both worlds. This banana pudding ice cream is not just a recipe; it’s a nostalgic trip down memory lane, where every spoonful brings back the warmth of homemade pudding and the coolness of ice cream.
The Story Behind My Creamy Banana Pudding Ice Cream Creation
Hey there, fellow food lovers! I’m Sagar Rakshit, and today I’m thrilled to share a recipe that has a special place in my heart. As a food blogger and a dessert enthusiast, I often find myself experimenting with flavors and textures. This banana pudding ice cream recipe is a perfect example of one such experiment that turned into a family favorite. It all started on a hot summer day in Nagpur when I was craving something cool but also comforting. I love banana pudding, but I thought, why not give it a twist and turn it into ice cream? The result was nothing short of magical.
Table of Contents
Essential Ingredients (Serving 2 Persons)
From Bananas to Ice Cream: A Simple, Delicious Journey
Before we dive into the recipe, let’s gather all the ingredients. This recipe is perfect for a small batch, serving two people.
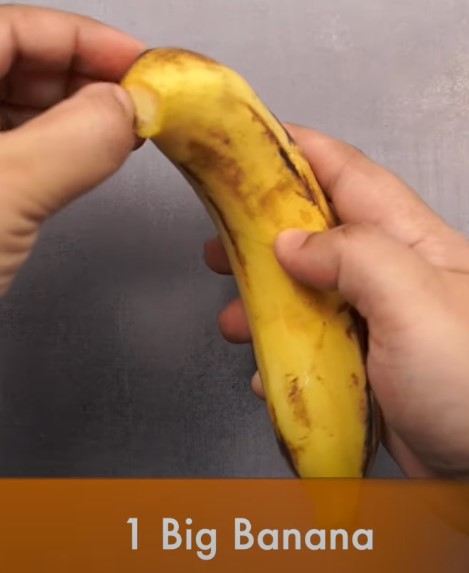
- 2 ripe bananas – The riper, the better, as they’ll add natural sweetness.
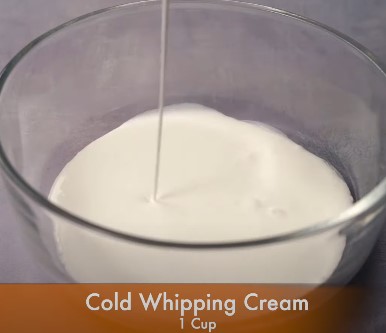
- 1 cup whole milk – For that creamy texture.
- 1/2 cup heavy cream – To make it extra rich and smooth.
- 1/4 cup sugar – You can adjust this depending on the sweetness of the bananas.
- 1/2 teaspoon vanilla extract – For that classic pudding flavor.
- 1/4 cup crushed vanilla wafers – Adds the necessary crunch and nostalgia.
- Pinch of salt – Enhances all the flavors.
Step-by-Step Process:
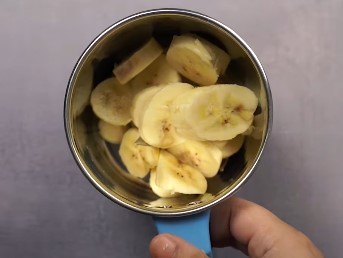
1.Prep the Bananas:
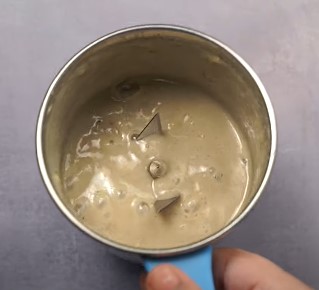
- Start by peeling and slicing the ripe bananas. Place them in a blender along with the whole milk and heavy cream. Blend until smooth and creamy. This banana mixture forms the base of your ice cream.
2.Sweeten the Mix:
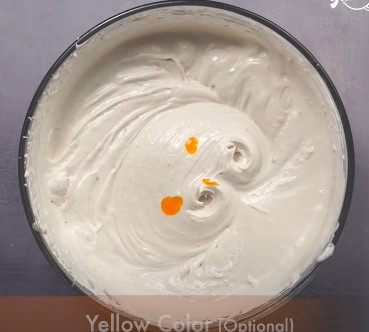
- Pour the banana mixture into a mixing bowl and add the sugar, vanilla extract, and a pinch of salt. Whisk until the sugar is completely dissolved. The pinch of salt may seem minor, but it balances the sweetness and brings out the banana flavor beautifully.
3.Chill the Mixture:
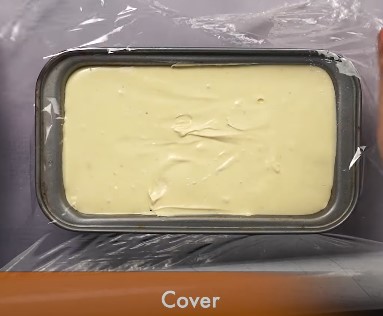
- Cover the bowl with plastic wrap and refrigerate it for at least 2 hours. This step is crucial as it allows the flavors to meld together and the mixture to cool down, which is essential for the ice cream-making process.

4.Churn the Ice Cream:
- After chilling, pour the mixture into your ice cream maker and churn according to the manufacturer’s instructions. It usually takes about 20-25 minutes for the ice cream to reach a soft-serve consistency.
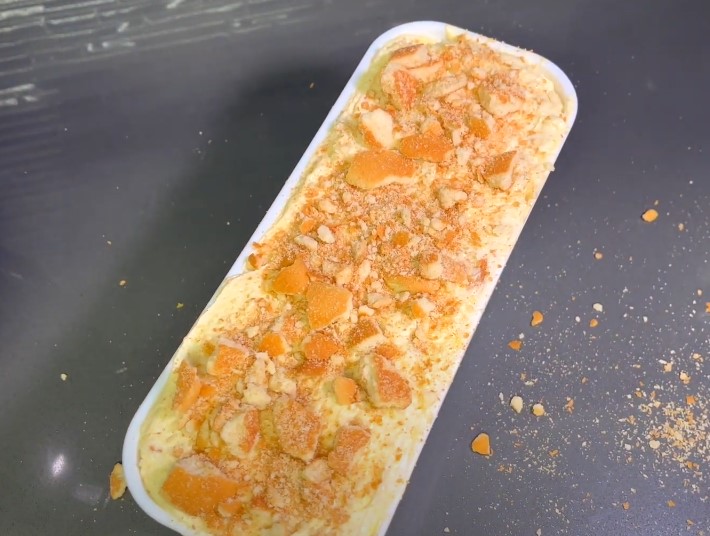
5.Add the Crunch:
- Once the ice cream is almost ready, add the crushed vanilla wafers. This step ensures that the wafers remain crunchy and don’t turn soggy. Let the ice cream churn for an additional 5 minutes to incorporate the wafers evenly.
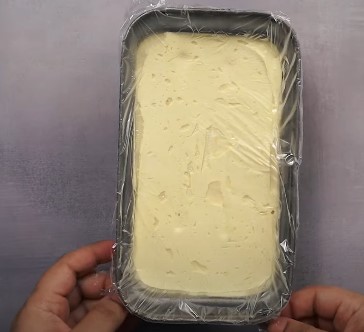
6.Freeze and Serve:
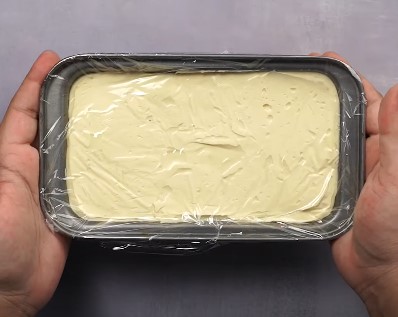
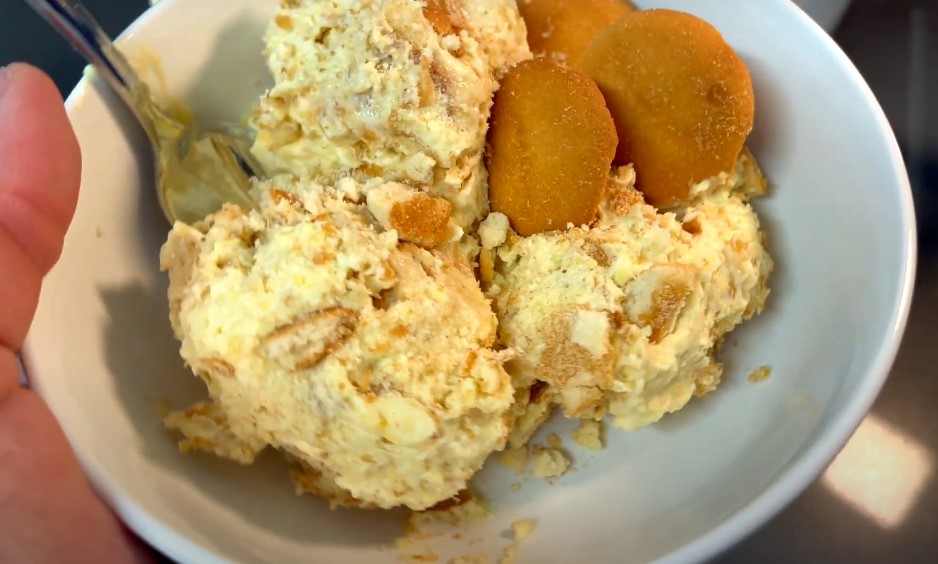
- Transfer the churned ice cream into a freezer-safe container, and smooth the top with a spatula. Press a piece of plastic wrap directly onto the surface to prevent ice crystals from forming. Freeze for at least 4 hours, or until the ice cream is firm. Serve with extra vanilla wafers or a drizzle of caramel sauce for an indulgent treat.
How Much Time Need for Preparing Banana Pudding Ice Cream?
| Step | Time (minutes) |
|---|---|
| Prep the Bananas | 5 minutes |
| Sweeten the Mix | 5 minutes |
| Chill the Mixture | 120 minutes |
| Churn the Ice Cream | 25 minutes |
| Add the Crunch | 5 minutes |
| Freeze and Serve (excluding freezing) |
Total Preparation Time (excluding freezing): 160 minutes
Creative Cooking Method
For making Banana Pudding Ice Cream, you can use the following methods:
1. Traditional Ice Cream Maker
- How It Works: This method involves using an ice cream maker to churn the banana pudding mixture until it reaches a creamy consistency. The machine incorporates air into the mixture, creating a smooth, velvety texture.
- Why It’s Great: It produces a traditional, creamy ice cream texture with minimal effort.
2. No-Churn Method
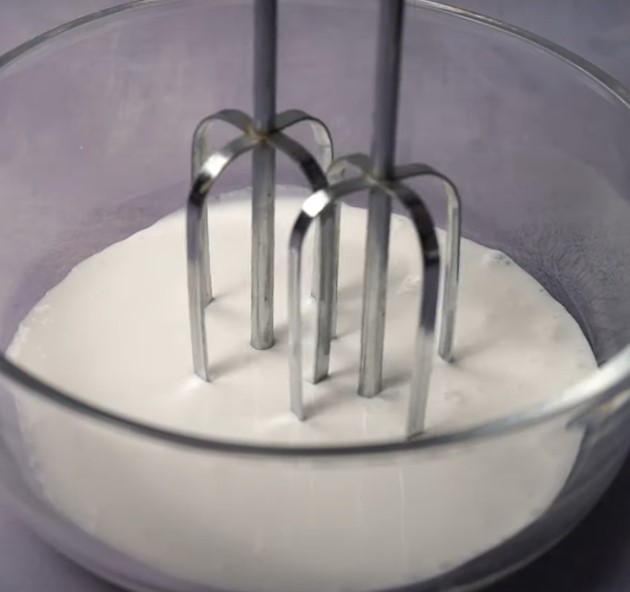
- How It Works: If you don’t have an ice cream maker, you can use this simple method. Whip heavy cream until soft peaks form, then fold it into the banana pudding mixture. Freeze it in a container, stirring every hour or so to break up ice crystals.
- Why It’s Great: It’s an easy, equipment-free way to make ice cream. The whipped cream adds air, mimicking the texture of churned ice cream.
3. Blender or Food Processor
- How It Works: Blend frozen banana slices with the other ingredients until smooth, then freeze the mixture. This method is quick and convenient, especially if you’re looking for a smaller batch.
- Why It’s Great: It’s a fast method that still delivers a creamy, frozen treat with a strong banana flavor.
4. No-Ice-Cream-Maker, Stir Method
- How It Works: Pour the banana pudding mixture into a shallow dish and place it in the freezer. Every 30 minutes, stir the mixture vigorously with a fork or whisk to break up ice crystals until it’s fully frozen.
- Why It’s Great: This method mimics the churning process manually, creating a creamy texture without any special equipment.
5. Liquid Nitrogen (Advanced)
- How It Works: This is a more advanced method where liquid nitrogen is poured over the banana pudding mixture, freezing it almost instantly. You’ll need to stir it continuously while adding the nitrogen to create a smooth ice cream.
- Why It’s Great: It’s a quick and fun way to make ice cream, and the rapid freezing results in an ultra-smooth texture.
Each method offers a unique way to enjoy Banana Pudding Ice Cream, so choose the one that fits your tools and preferences!
Delicious Variations
Customize Your Banana Pudding Ice Cream
- Chocolate Banana Pudding Ice Cream: Add 2 tablespoons of cocoa powder to the banana mixture for a rich chocolatey version.
- Peanut Butter Banana Pudding Ice Cream: Swirl in 2 tablespoons of creamy peanut butter during the last 5 minutes of churning for a nutty twist.
- Vegan Banana Pudding Ice Cream: Substitute the milk and cream with coconut milk and coconut cream for a dairy-free option.
Keeping It Fresh: The Ultimate Guide to Storing Banana Pudding Ice Cream
- Refrigeration: Banana pudding ice cream is best enjoyed fresh. However, if you plan to keep it in the fridge, it will remain soft for up to 2 days. Ensure it’s in an airtight container to prevent it from absorbing any odors.
- Freezing: This ice cream can be stored in the freezer for up to 2 weeks. Keep it in a freezer-safe container with plastic wrap pressed against the surface to avoid ice crystals. Before serving, let it sit at room temperature for 5-10 minutes to soften.
- Reheating: If you prefer a softer texture, you can microwave the ice cream on low power for 10-15 seconds, but be careful not to melt it completely.
Perfect Pairings
What to Serve with Banana Pudding Ice Cream
Side Dishes:
- Serve this banana pudding ice cream with a slice of warm banana bread or a handful of caramelized nuts for a delightful contrast.
Drink Pairing:
- Pair this dessert with a glass of iced coffee or a chilled glass of white wine like Moscato to balance the sweetness.
Endless Possibilities: Different Ways to Enjoy Banana Pudding Ice Cream
- Nut-Free: Omit the vanilla wafers and replace them with crushed graham crackers for a nut-free version.
- Low-Sugar: Use a sugar substitute like Stevia to reduce the sugar content without compromising on flavor.
- No-Churn Method: If you don’t have an ice cream maker, you can whip the cream separately until soft peaks form and fold it into the banana mixture before freezing.
What I Learned
Avoid This Common Banana Pudding Ice Cream Mistake
The first time I made this ice cream, I added the vanilla wafers too early during the churning process. They became soggy and lost their crunch, which was disappointing. I learned that it’s best to add them in the last 5 minutes to maintain that delightful texture.
Recipe Honesty: My Personal Experience with Banana Pudding Ice Cream
This recipe is a personal favorite, and while it’s delicious as written, feel free to experiment and make it your own. If you use any affiliate links on this page, I may earn a small commission at no extra cost to you.
FAQs Your Questions Answered
1.Can I use frozen bananas?
- Yes, you can use frozen bananas, but make sure to thaw them before blending to ensure a smooth texture.
2.What if I don’t have an ice cream maker?
- You can use the no-churn method mentioned above by whipping the cream and folding it into the banana mixture.
3.Can I add other fruits?
- Absolutely! Strawberries or blueberries would be great additions to this ice cream.
Nutritional facts!
What’s Nutrition Inside Your Banana Pudding Ice Cream
| Nutrient | Amount |
|---|---|
| Calories | 250 kcal |
| Fat | 14g |
| Carbohydrates | 32g |
| Protein | 3g |
| Sugar | 20g |
| Fiber | 2g |
Pro Tips
How to Perfect Your Banana Pudding Ice Cream
- For a richer flavor, roast the bananas in the oven at 180°C (350°F) for 15 minutes before blending.
- Ensure the mixture is cold before churning to get the best texture.
- If the ice cream is too hard after freezing, let it sit at room temperature for a few minutes before scooping.
GET IN TOUCH
Share Your Creation with #Banana Pudding Ice Cream
Want to try something new?
Recipe Card


Banana Pudding Ice Cream
Description
Creamy banana pudding ice cream, a nostalgic twist, easy recipe with step-by-step instructions. Perfect summer dessert!
Ingredients
Step-by-Step Process:
-
Prep the Bananas
- with the whole milk and heavy cream. Blend until smooth and creamy. This banana mixture forms the base of your ice cream.
-
Sweeten the Mix:
- Pour the banana mixture into a mixing bowl and add the sugar, vanilla extract, and a pinch of salt. Whisk until the sugar is completely dissolved. The pinch of salt may seem minor, but it balances the sweetness and brings out the banana flavor beautifully.
-
Chill the Mixture:
- Cover the bowl with plastic wrap and refrigerate it for at least 2 hours. This step is crucial as it allows the flavors to meld together and the mixture to cool down, which is essential for the ice cream-making process.
-
Churn the Ice Cream:
- After chilling, pour the mixture into your ice cream maker and churn according to the manufacturer’s instructions. It usually takes about 20-25 minutes for the ice cream to reach a soft-serve consistency.
-
Add the Crunch:
- Once the ice cream is almost ready, add the crushed vanilla wafers. This step ensures that the wafers remain crunchy and don’t turn soggy. Let the ice cream churn for an additional 5 minutes to incorporate the wafers evenly.
-
Freeze and Serve:
- Transfer the churned ice cream into a freezer-safe container, and smooth the top with a spatula. Press a piece of plastic wrap directly onto the surface to prevent ice crystals from forming. Freeze for at least 4 hours, or until the ice cream is firm. Serve with extra vanilla wafers or a drizzle of caramel sauce for an indulgent treat.
Servings 2
- Amount Per Serving
- Calories 215kcal
- % Daily Value *
- Total Fat 14g22%
- Total Carbohydrate 32g11%
- Dietary Fiber 2g8%
- Sugars 20g
- Protein 3g6%
* Percent Daily Values are based on a 2,000 calorie diet. Your daily value may be higher or lower depending on your calorie needs.
Note
- For a richer flavor, roast the bananas in the oven at 180°C (350°F) for 15 minutes before blending.
- Ensure the mixture is cold before churning to get the best texture.
- If the ice cream is too hard after freezing, let it sit at room temperature for a few minutes before scooping.
 Hi, I'm Sagar Rakshit, a food blogger based in India. I'm happily married and have the joy of sharing my life with my amazing family. My passion lies in exploring different cuisines, creating delicious recipes, and sharing my culinary adventures with you all.
Leave a Comment